Printing
Print all barcodes and shipping labels on the fly with SKUSavvy mobile printing service. Shelf and bin labels, products, and shipping.
Print Templates
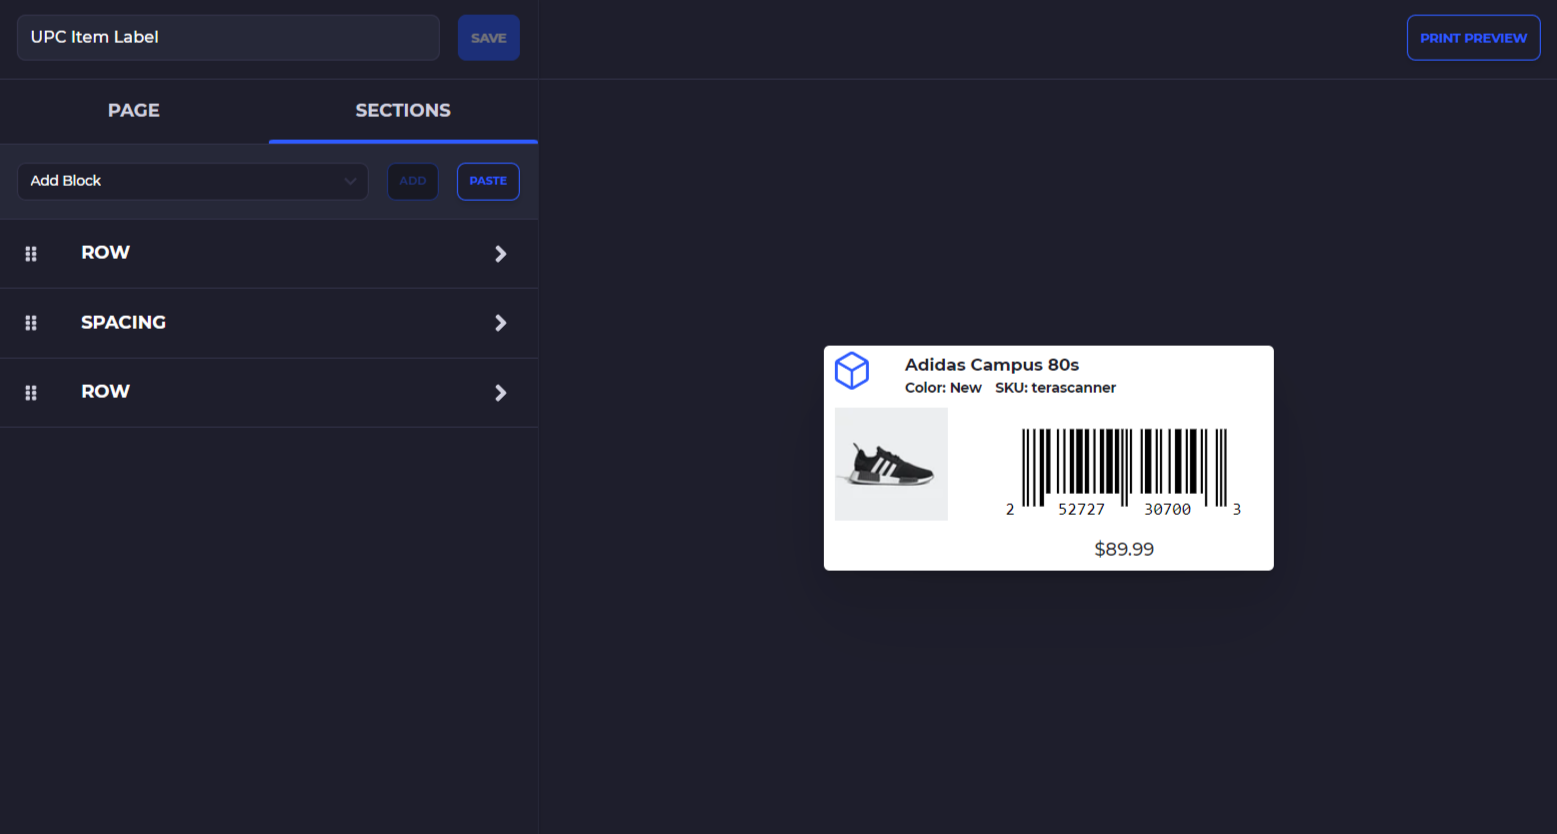
Within SKUSavvy you can create your own custom templates for many different prints including products, bins, shipping labels, pickup labels, check-in, and transfer labels.
Print Bin Labels
Every bin or entire shelf made up of bins can be printed out with a label quickly within the visual layout manager.
Print Individual Bins
To print a bin, you can go into the bin itself where you will see a generated QR code and a button to print.

Print Multiple Bins
To print multiple bins, go to your list of bins (Layout > Bins) and look for the 'Print Labels' button.

From this screen you can select multiple barcodes, or print all barcodes at once.
1) Select what information should show on the label
2) Print all available bin barcodes
3) Print a single bin from the list

Print Shelf Bins
To print all bins on one shelf, simply navigate to the shelf within the layout view, or click on the shelf within the table view.

1) Select shelf bin format: shelf name, level, bin name available
2) Select which levels of the shelf you would like to print
3) Print the corresponding shelf bins

Print Product Barcodes
Bulk Print Products
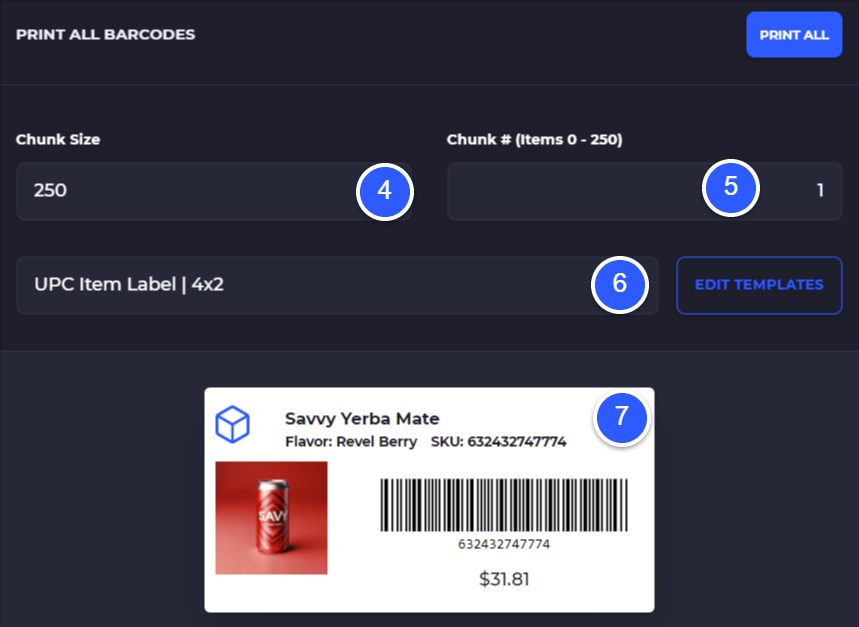
You can print product barcodes in bulk by going to your products table, entering filters to narrow down which labels should be printed, and printing them off in batches of maximum 250 at a time.
1) Enter filters to narrow down which products should be printed
2) Select the 3-dot menu
3) Select 'Print All Barcodes'
4) Chunk size - 50, 100, 250, 500, 1000 - this is how many labels should print at one time
5) Which chunk to print so at a chunk size of 250, entering 2 here would print labels 251-500

Print a Single Product Barcode
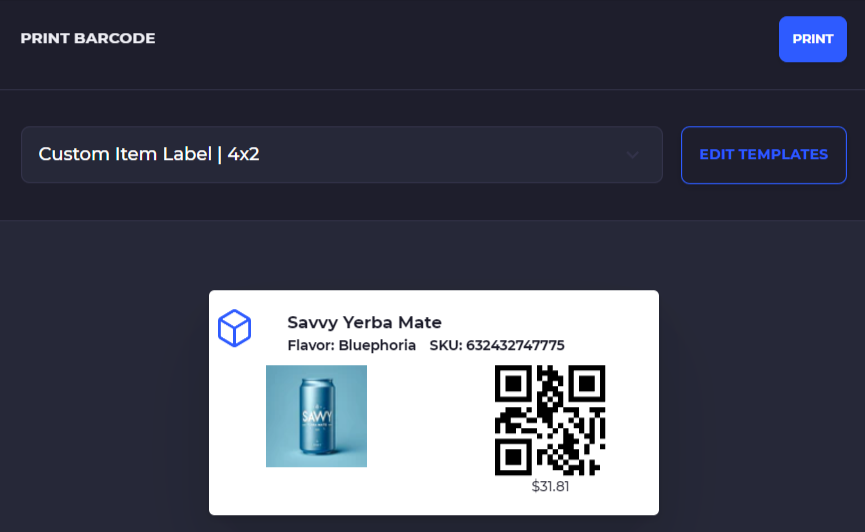
On each product variant will be a barcode shown. If no barcode is showing, check the barcode format. It's suggested that you scan the barcode on the product, however you can import the barcodes as well. Next to the barcode shown is a print button. All product barcodes are printed out as a 4" x 2" label by default, though you can print on other size labels and SKUSavvy will adapt the size to that label format
Print Batch Label
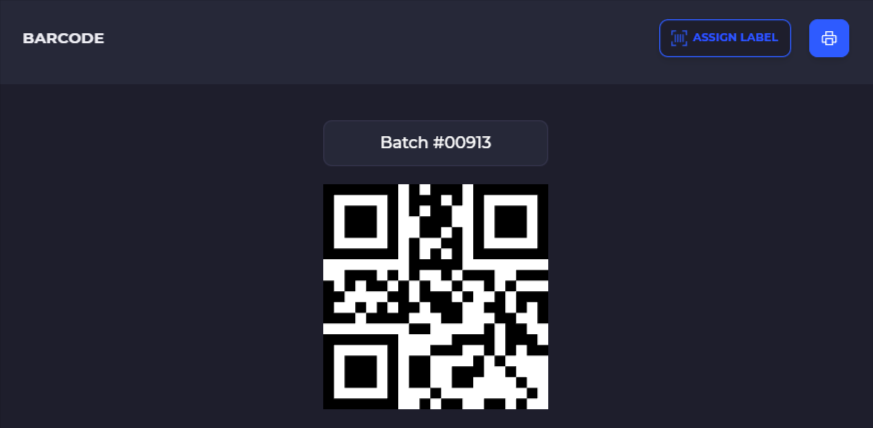
Each fulfillment batch has a very helpful label that can be printed with it by clicking into the 3-dot menu on the order batch. This label can be printed and when scanned will bring the user directly back into the order batch.
Click the 3-dot menu in any order batch to print this label

On the next screen scroll down until you see the batch label. You can also reassign the barcode associated with the label by clicking 'Assign Label'
Shipping Label Printing
Once a fulfillment batch has been picked and packaged, you have the option to select your shipping label and print the label via any device.
You must have at least one carrier account connected for shipping labels to be selected and presented

Print Custom Shipping Labels
Using the custom label creator in SKUSavvy you can create your own custom shipping labels, product barcodes, bin labels, and more. For companies doing their own shipping or handling pick-up orders, these custom labels provide a way to easily make any label possible.
You must already have a custom label format created in the editor within your account configuration
Custom shipping labels are used during the fulfillment and shipping process. To use your own custom label go into your batch settings during fulfillment and turn on 'Use Custom Label'
1) Select batch settings from the 3-dot menu while you are WITHIN A FULFILLMENT BATCH
2) Turn on 'Use Custom Labels' from the carriers selection setting

To print the label you first need to pick and package the good contained in that order. Depending on how you set up your custom label that is what information will show on the label since it is dynamically filled with the information pertaining to the order.
1) Dynamic address of the customer related to this order
2) Order note from this order
3) Order number and label barcode
4) Print the custom label

Print Action Barcodes
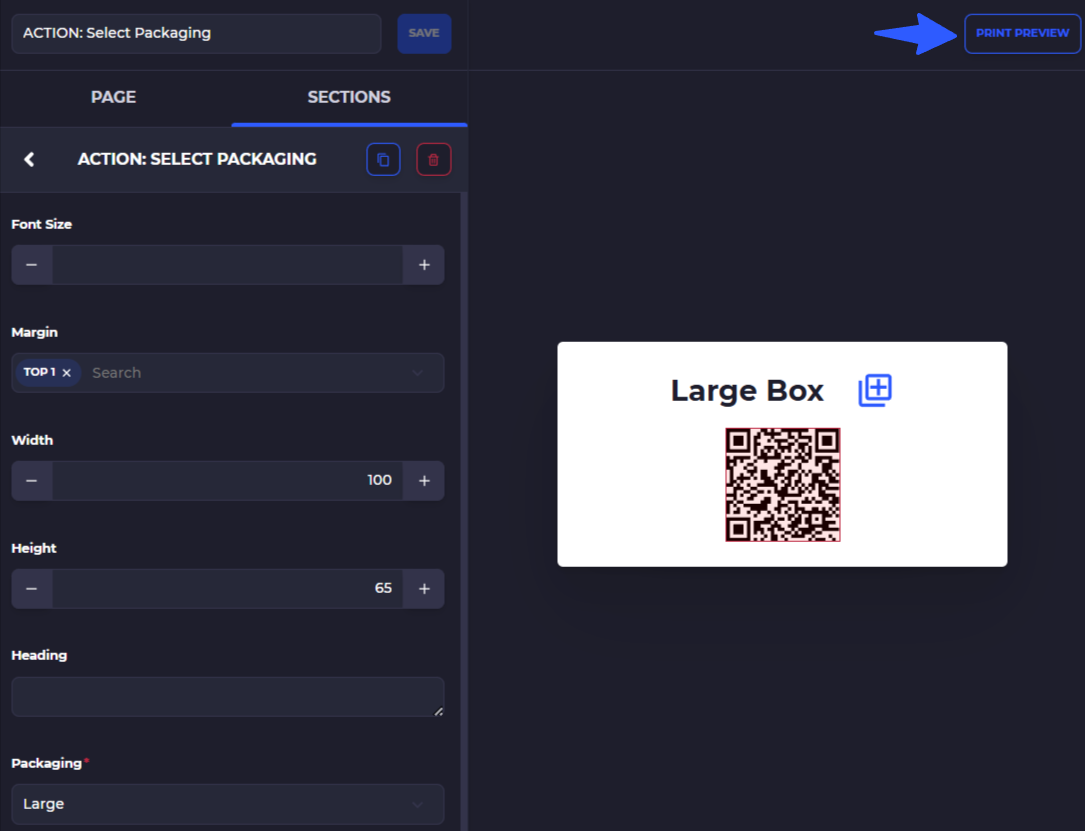
This special type of barcode will enable you maximum efficiency in your fulfillment process by automatically advancing or performing prints simply by scanning. You can use these barcodes for the following actions:
Advance through the batch
Go to previous step in a batch
Print a shipping label
Print a purchased shipping label
Select a box size
Add a box to the shipment (multi-box)
Split a shipment
Barcode actions require a connected hardware scanner
Print Action Barcodes
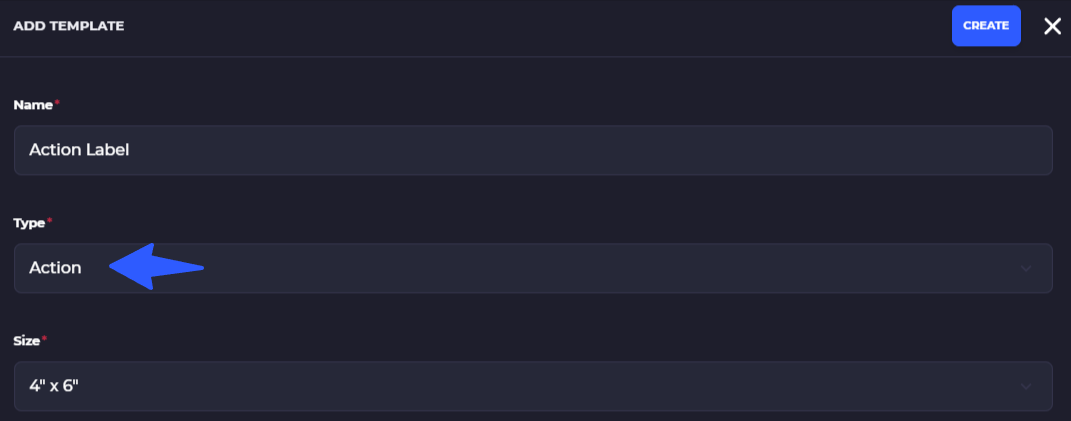
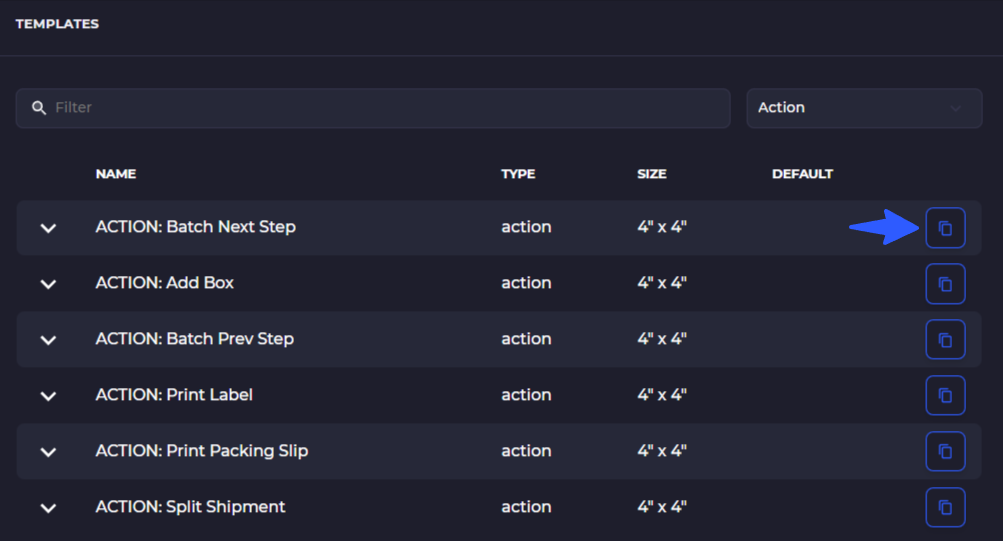
To print an action barcode you can simply go into the tempalte editor and either create a new barcode then using the 'Action' barcodes, or copying one of the templates already included.
Copy Templates
Edit and Print
