Quick start with SKUSavvy
New to SKUSavvy? Start here and take 3 quick steps toward getting your account live and setup to fulfill orders.
Start Here
This quick start guide will help you understand the essentials needed to start utilizing the SKUSavvy platform. There are three primary tasks necessaary to begin fulfilling orders effectively:
Connect with Shopify
Build a layout and allocate inventory
Connect carriers and add your packaging
Start Fulfilling
1) Connect Shopify
If you haven't done so already, connect your Shopify store(s), you can add multiple Shopify stores to SKUSavvy which will bring over all locations, products, inventory, and new orders/customers.

Note that product changes or order edits will come over into SKUSavvy in real-time. Inventory changes made in SKUSavvy will be reflected up to Shopify in real-time.

2) Add Bins and Allocate Inventory
For inventory to be pickable within SKUSavvy, it needs to be within a bin location. You can allocate stock at the same time you are picking an order for the fastest way to get started fulfilling orders. You can also allocate stock in bulk to a bin.
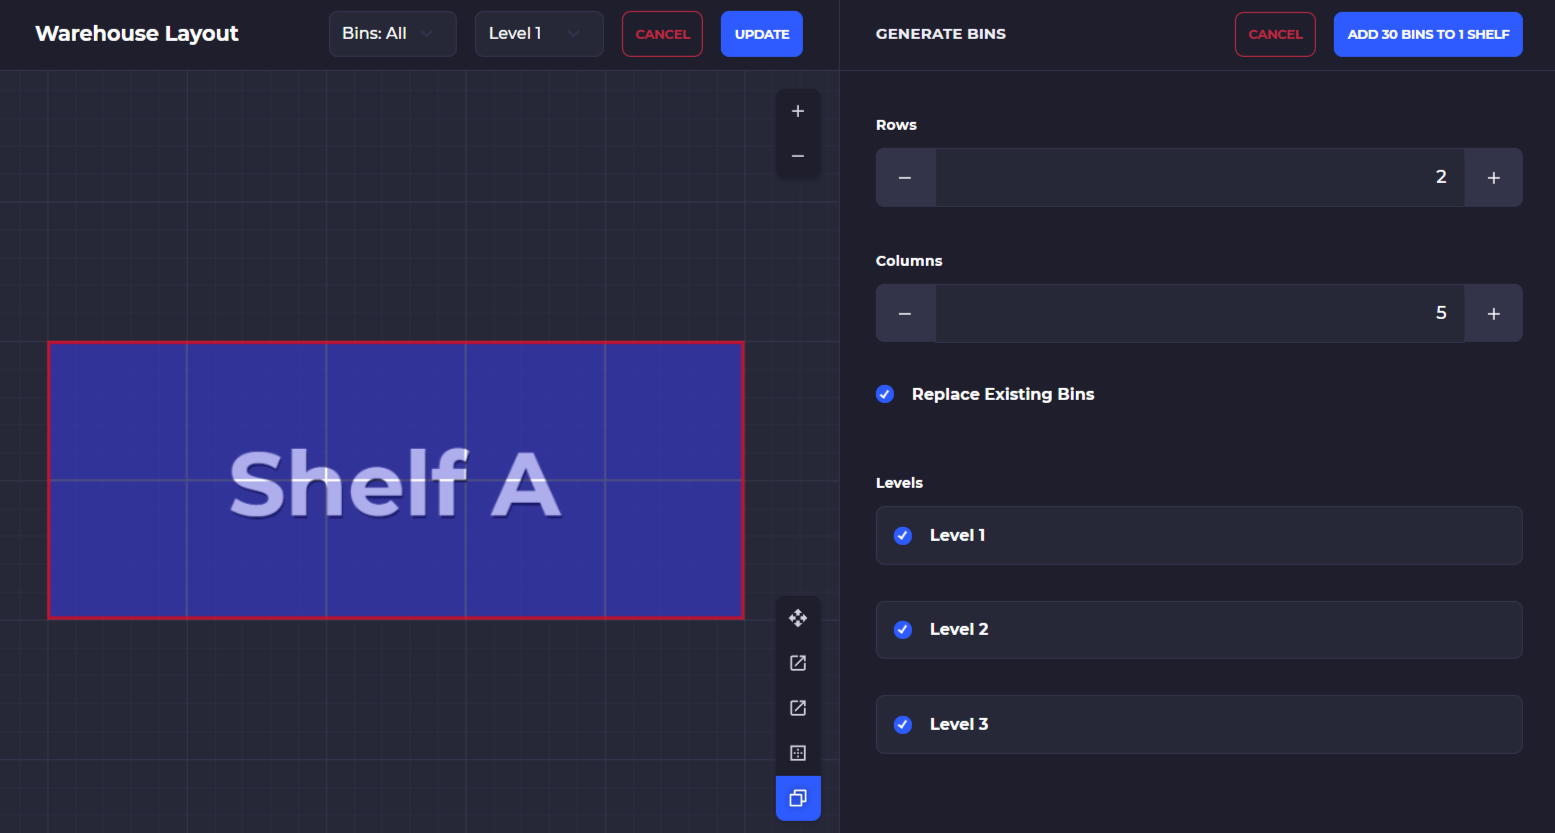
Customize a warehouse layout
Retail Stores
For retail stores, you can typically use one bin for all inventory within the store so POS orders can automatically reconcile against the stock. You can allocate all Shopify inventory to a single bin with the bulk allocation tool.
Warehouses
For warehouses, you can build out the layout to match your rack and bin structure, then print labels and allocate stock by scanning within the bulk allocation tool on the inventory section of your account.
Quickly allocate stock
Plan to 'Assign Location' to Shopify stock first, then make adjustments in SKUSavvy

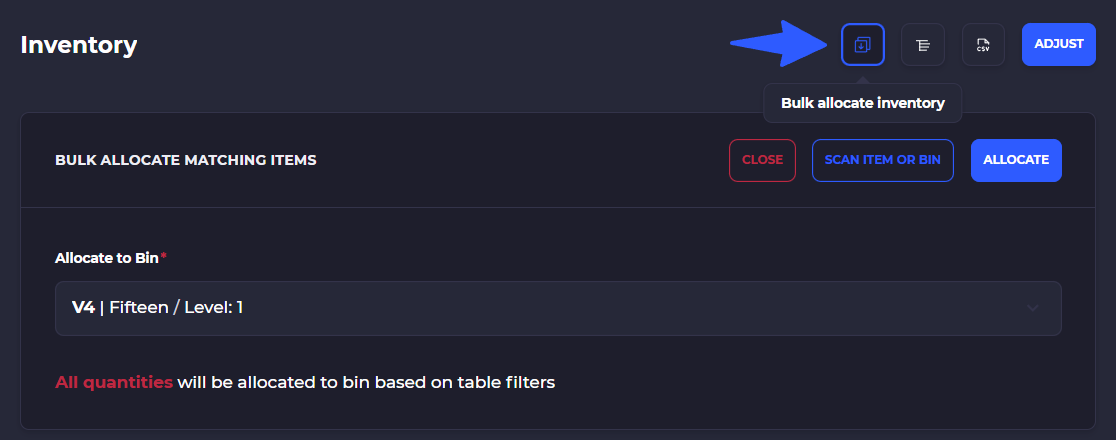
Bulk Allocate
Any stock that has imported from Shopify but has now been allocated can be placed into bins in bulk using the bulk allocation method. This will enable you to scan items, then scan the bin and place that inventory, or to filter down by tag, price, or SKU to place by filter.
During Fulfillment
You can allocate the inventory from Shopify to bins in SKUSavvy during the pick process. This makes it possible to start fulfilling orders right away.
3) Add Carriers and Packaging
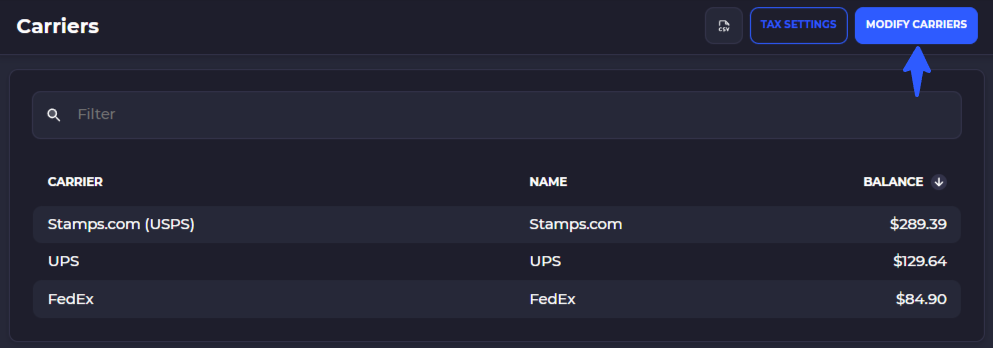
To start shipping orders with carriers you can connect your carrier accounts directly through SKUSavvy. This will pull rates, enable you to purchase shipping labels and print them out all in the SKUSavvy app. A few things to know:
Currently, only USPS group rate accounts are available, other carriers will require your own carrier account
You can manually fulfill orders and attach any tracking information for external carriers
SKUSavvy will replace any other shipping platforms you are using (ShipStation, StarShipIt, Shippo, etc.)
Add Packaging
Any shipment that will be sent via carrier needs to be packaged up. You can create packages on the fly during fulfillment, or as in this method you will add standard packaging for use regularly.
Box sizes can be suggested when product dimensions are present
Package type codes available while creating new packaging should be preferred if using a carrier specific package type
Packaging inventory can be tracked, turn this on/off in your account configuration
4) Start Fulfilling
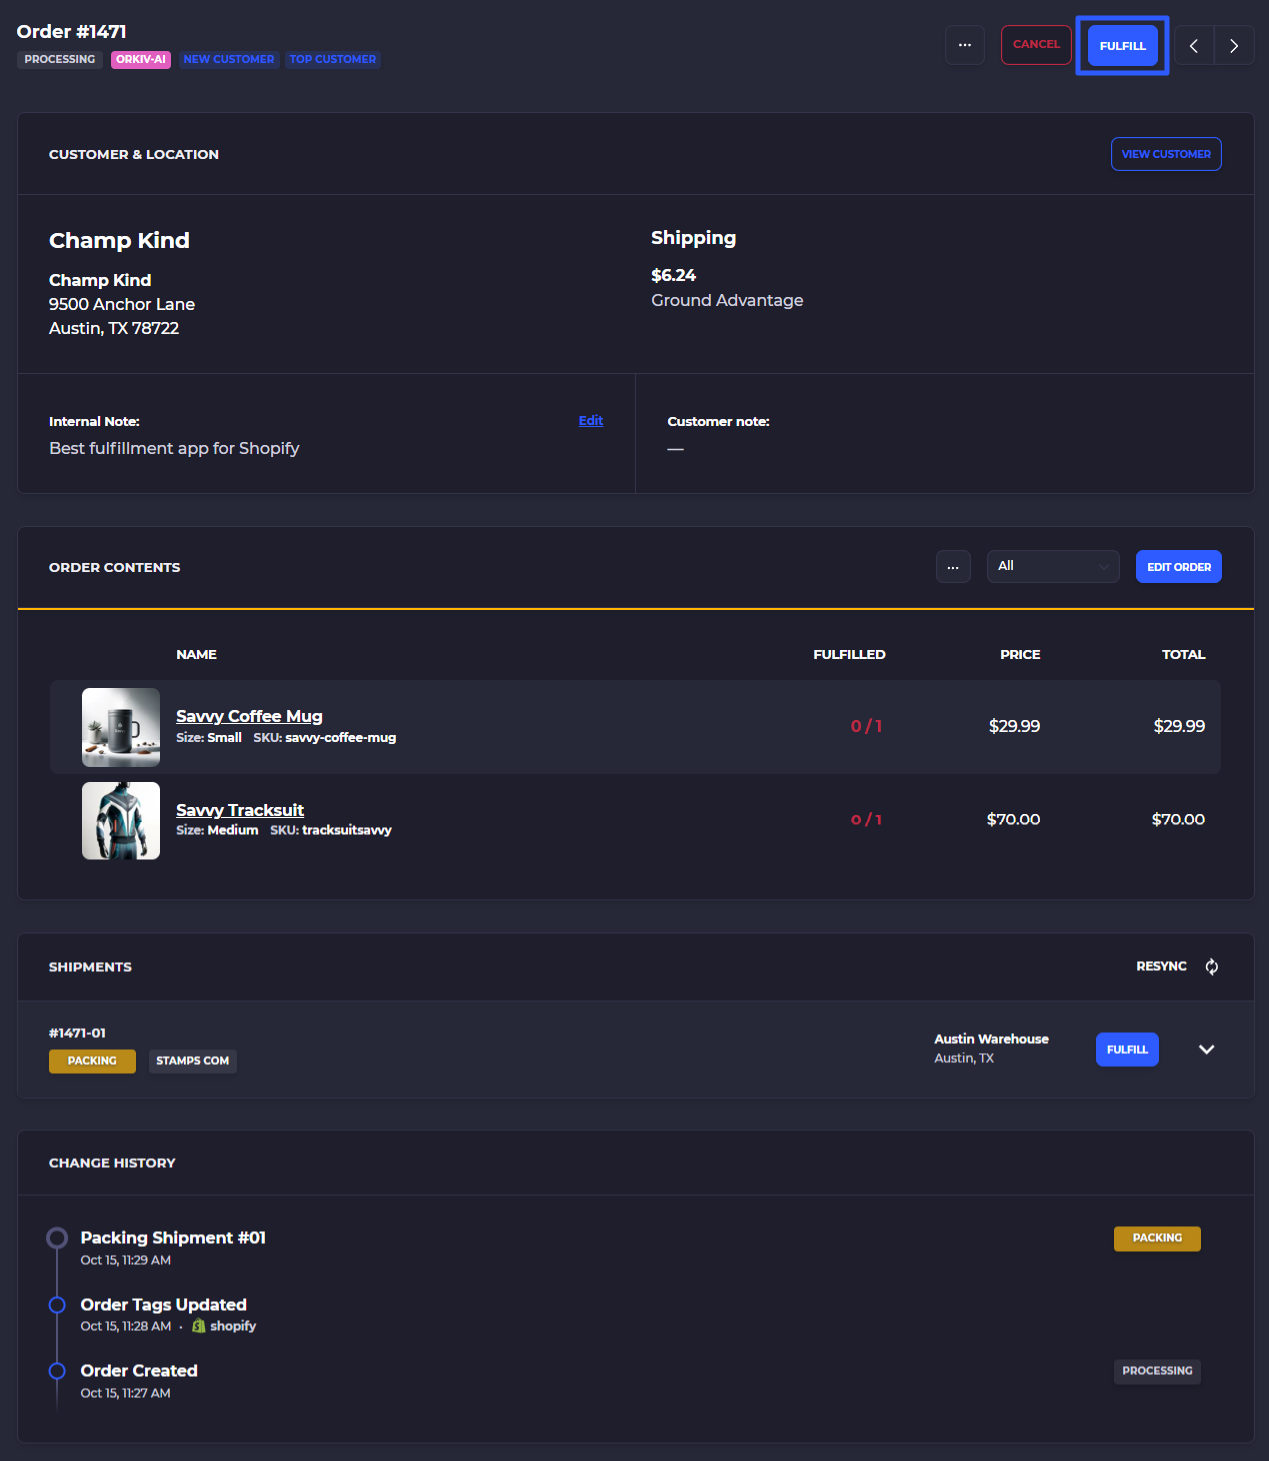
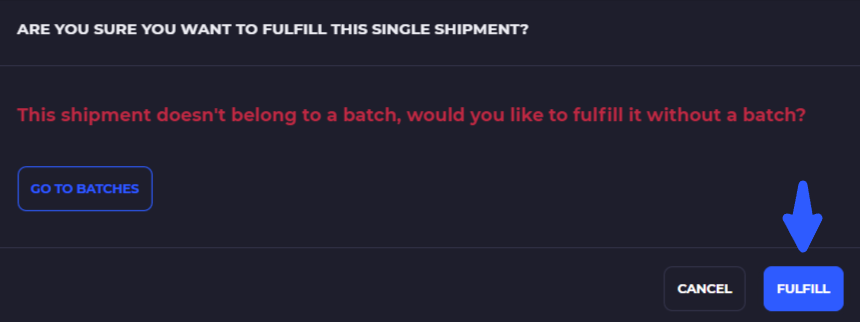
With these steps taken care of you can start fulfilling orders directly within SKUSavvy. Click into an outbound order, scroll to the bottom and click fulfill.
