Employees
Get more orders fulfilled faster when you add all your employees to your SKUSavvy account. Assign permissions and direct tasks.
Employee Permissions
Keeping sensitive information safe while allowing access to the right people helps you control who knows what within your account. Below are the available permissions and what the employee will be granted access to with that permission enabled.
Company
Update Company - this enables any user to adjust primary company logos, taglines, employees, carriers
Update Billing - provides the employee with access to the billing account, invoices, and payment on file
Warehouse
Create - enables the employee to add a new warehouse to your SKUSavvy company account
View - staff with this permission can view all warehouses
Update - staff can make changes to an existing warehouse including bins, shelves, areas, barcodes etc.
Delete - staff will be able to delete a warehouse and reassign or remove all stock at that location
Product
Create, View, Update, Delete - gives total control over product and variant, locations and vendors associated
Place product on back-order, or remove shipping requirements
Adjust dimensional information and product barcodes
Change image and add custom product attributes
Make and adjust product kits (several products going into a single product)
Make and adjust units of measure
Orders
Create, View, Update, Delete - provides permission to view all orders and order status for inbound and outbound shipments
Inbound - allows the user to place new purchase orders from vendors and update them or check in the order
Outbound - view, and edit all outbound orders or create new orders
Batches - create new fulfillment batches and assign them to employees for order fulfillment
Employee
Create, View, Update, Deactivate - provides this employee the ability to manage other employees across your warehouse network
Task Assignment - within SKUSavvy there are several tasks that can be assigned. This setting enables one employee to assign another to a warehouse, order fulfillment, picking, receiving or other tasks directly
Task Tracking - (coming soon) you'll be able to view individual tasks across various functions of the warehouse to determine productivity levels
Invite - enables one employee to create new employees within the system
View Invitations - this employee will be able to view and modify existing invitations to their company
Warehouse Layout (Bins, Shelves, View)
Create View, Update, Delete - enables the user to make direct edits to the location of bins and shelves as well as to adjust the position of those within the warehouse layout manager
Add/Remove Product from Bins - this will enable an employee to adjust which product and what quantities are available within the bins in the warehouse
Bin to Bin Transfers - enables employees to move stock from one bin to another while issuing an internal transfer request to do so
Replicate Warehouse Layers - this employee will have the ability to duplicate a level of the warehouse to another level (caution: this can be a major change to your warehouse layout unexpectedly)
Vendors
Create, View, Update, Delete - gives total control over vendors in the system
Adjust Products Carried by the Vendor - this will enable an employee to change which products can be ordered from the vendor
Adjust Pricing - with this permission an employee will be able to change prices provided by the vendor to reflect new product cost
Purchase Replenishment
Create, View, Update, Delete - gives a way to add and change the reorder quantities of items based on the movement of the item
Adjust Lead Time - gives the employee a way to change how much lead time is required for the product to reach the warehouse
Adjust Safety Stock - allows the employee to make adjustments to how long in advance the purchase order should be made based on order volume and past history
Customer
Create, View, Update, Delete - enables an employee to make and edit new customers across all of your warehouses
Orders - view all orders from a specific customer within the customer profile
Invoices - view and print invoices from past orders
Adjust Delivery Windows - if you're delivering to customers this enables you to set when products can be delivered
Locations - view and add other locations associated with a specific customer, which is handy for chain stores
Set Primary Location - enables an employee to set the primary delivery location for a customer
Customer Credit - issue and manage credit for specific customers
Transfer
Create Cross-Docks - receive cross-dock requests and issue new cross-dock requests from your entire warehouse network
Carrier
Create, View, Update, Delete - enables employees to add or change carriers associated with your SKUSavvy account
Carrier Accounts - adjust the carrier account numbers and access being used to ship product
Inventory
Create, View, Update Delete - employees with this permission have access to all inventory quantities and changes across warehouses
View Logs - employees with this permission can view inventory logs to determine how many of each product moved from bin to bin, or was utilized in the order fulfillment process
Bin Assignment - this employee can view all bins this inventory is already within, or place inventory within a new bin
Packaging
Create, View, Update, Delete - this employee has full control over package sizes available throughout the system
Lead Time on Packaging - this person can make changes to the amonut of lead time required to receive the designated packaging supplies from a vendor
Adjust Dimensions and Weight - this person can make changes to the size of the package or its weight which will impact the box-sizing suggestions at fulfillment, and total order weight
Make Packaging Available at Other Warehouses - this person can adjust the quantity and which sizes of packages are available at any warehouse they have access to
Webhook
Create, View, Update, Delete - this enables someone to add and remove webhooks which control the flow of real-time data from SKUSavvy to an external application via API
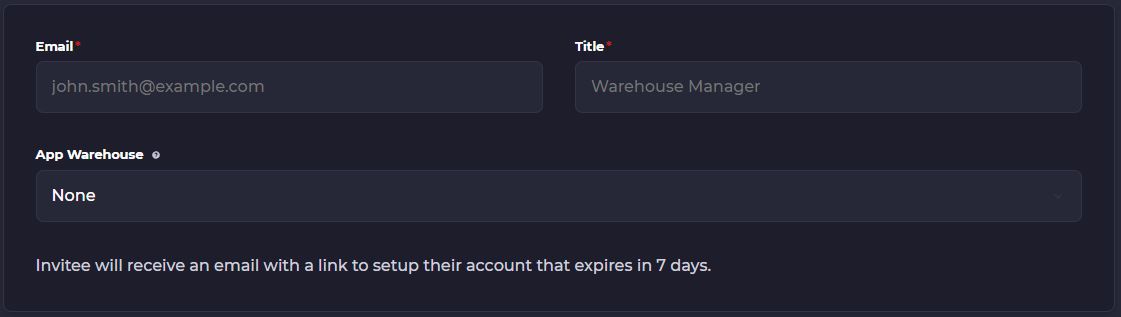
Employee Invitations
Within SKUSavvy you have the ability to add new employees, which will send an invite to the employee via email with their new account details. In this step, you will also assign the permissions as outlined above.
This enables you to view all existing invitations to join your SKUSavvy account, as well as to see the time the employee joined and the last time they have logged in.
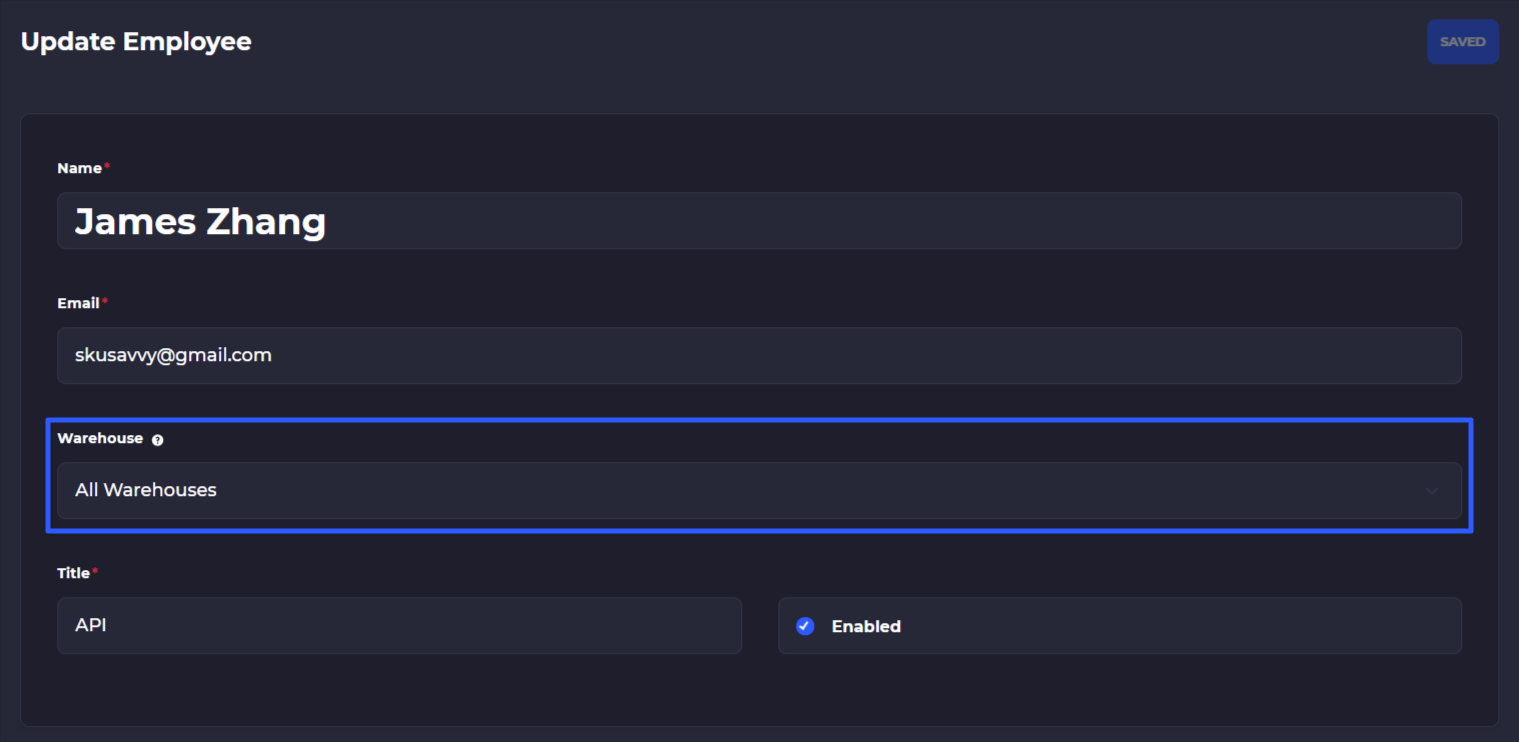
Limit Staff by Location
Once a staff account has been created, the staff account can be limited to view only a specific location. Once the staff account is assigned there, they will not see any other locations.
Add Employee to Warehouse
From your SKUSavvy top-level account once an employee has been invited and accepted with the assigned permissions this employee can be added to specific warehouses. Once added to a warehouse the employee can now be assigned batches of orders, cycle counts, or packing tasks.
Assign to a Warehouse
To add an employee to a warehouse you'll go into the warehouse you'd like to add them to, and click 'Employees'. This will allow you to assign the employee or remove an employee from that warehouse. Assigning someone to a warehouse ensures they will see the available information for that warehouse such as inventory, orders, batches, or put-away tasks.
1) Select a current company employee to add to the warehouse
2) Click Add to complete the employee addition
3) Current employees listed in the warehouse
4) Delete a current employee assigned to the warehouse
5) Assign a warehouse manager

Tasks Assignment
Create a Task
SKUSavvy uses a build in task management system on the primary dashboard that an admin or employee with necessary permissions can use to internally direct work within the system. These tasks can be sent directly to an employee as a notification on their account.
1) Create a task and filter by all status, complete, or open
2) Select a task to view more details
3) Check off a task

1) Name of the task
2) Employee assigned to the task
3) Description of the task
4) Create the task

Tasks Notifications
When a new task is assigned to an employee, they will get a notification of the task where they can view and execute on it.

Assign Pick Batches
After an employee has been added to a warehouse, you can assign pick batches to them. This enables the employee to see within their account which batches of orders they need to pick. To do so, go into a warehouse, and click on 'Fulfill Orders', and then select 'Batch Orders' from the table below the existing batches. When batches are created the workload will be distributed equally to all employees that have been assigned to the batch creation.
Example batches with filtering to those assigned
1) Select to view batches assigned to you vs. unassigned and all
2) Click on a column header to sort the data A-Z, Z-A etc.
3) Choose which columns to show

1) Select order fulfillments
2) Scroll down to unbatched shipments (open orders)
3) Click on 'Batch Orders'

Select Warehouse > Fulfill Orders > Batch Orders > Assign to Employee(s)
This view enables you to auto-assign the batch(s) created to employees added where SKUSavvy splits batches across employees and gives them a notification.
1) Turn on auto-assignment of order batching
2) Select employees to distribute batches (select just one employee to assign all batches to that employee)
3) View/delete employees assigned to newly created batches

Reassign a Batch
Once batches are made and assigned to employees you can reassign the batch to someone else within the warehouse.
To do so, simply select from the dropdown menu at the top of a batch at any point within the pick process or fulfillment, and select another employee. Note: you will only be able to select an employee who is also assigned to the warehouse.

Assign Cycle Counts
Initiate a Cycle Count
When creating a cycle count you can select employees to receive a notification of the count assigned to them. To initiate a cycle count go into a warehouse then select inventory > cycle count.
1) Select the frequency for your cycle
2) Select one or multiple employees to distribute the cycle count bins to
3) View/delete employees assigned to the cycle
